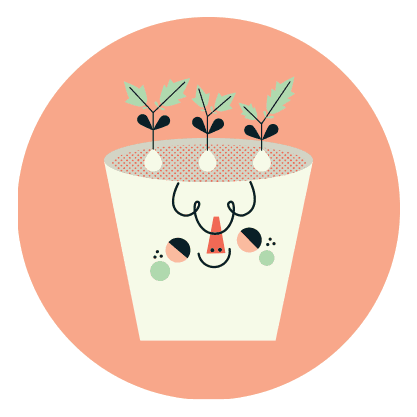
Tiny GARDEN Kit
Next Steps

WHEN SHOULD I WATER MY PLANT?
Water is vital for plants, allowing them to get nutrients and oxygen from the soil. Without enough water, plants can get dehydrated or undernourished, just like us! But with TOO much water, they can drown (also like us).
Remember: it is possible to both OVER-water or UNDER-water your plant. So take care!
After first planting the seeds from your kit in the damp expanded soil disk, it might be a week or two before you need to water your seeds. Check the soil daily. It’s very important that the soil stays damp, particularly during the seed sprouting stage. Dry soil can halt the natural process that tells the seed it’s time for it to grow. Keep the soil damp, even if it might be a while between waterings.
-
HERE ARE SOME EASY TRICKS TO FIGURE IT OUT:
Use your finger
Press your finger into the soil, down to the first knuckle (not too close to your seedlings, as you don’t want to disturb the roots or squish the plants). If the soil feels dry, and your finger has no wet soil on it, it is time to add more water.Use a moisture meter
A moisture meter can tell you exactly how damp the soil is— whether “dry,” “moist,” or “wet.” Most plants like to live in the middle of the “moist” zone. It’s best if you place the probe a few inches into the soil in a few different spots in the pot to get an average reading.If you plan to grow a lot of plants, an inexpensive moisture meter can save time and give a bit of reassurance that you’re watering only when the plant needs it. A moisture meter can be really handy—they work in any soil, indoors or out.
THIRSTY?
If your plant is getting a little dry, water the soil until it runs through the pot and starts to pool in the tray/dish below. Don’t let water sit in the tray. If the pot sits in standing water the soil can get too wet and drown the roots. After watering, wait about ten to fifteen minutes, and then dump out any water still sitting in the tray.
DON’T OVERWATER
Too much water in the soil can make a happy plant sick. Roots are how the plant takes up oxygen and nutrients from the soil, and too much water can affect their ability to “breathe.”
ACCIDENTS HAPPEN
If you have accidentally added too much water, do not fret! Just dump out any excess water from the tray and let the pot and plant both dry out for a few days before watering again. Complications happen if soil is too wet for an extended period of time.
DON’T WATER THE LEAVES
Once your plant has leaves poking out above the soil, be sure to water the soil, and NOT the leaves. Wet leaves can encourage fungus and other plant diseases that can make your plant an unhappy tiny camper.

WHAT CONDITIONS ARE BEST FOR MY PLANT?
Different plants prefer certain conditions to thrive, so consider these when determining if you want to grow your plants entirely inside, or plan to move the seedlings outside later.
-
SOUTH-FACING
Indoor veggies have varying sunlight and temperature needs. Refer to the handy Plant Information Guide that came with your seeds to find out the ideal amount of sunlight and temperature for your plant(s). Some veggies require more light and heat than others. For instance, tomatoes and peppers require a lot more direct sunlight and warmth than lettuces and greens, so it best to understand the conditions that will make your plants happy.
Depending on the conditions in your home, where the plant is placed, and the time of year, they should be perfectly happy growing unaided on a sunny south-facing windowsill.
GROWING IN LOW-LIGHT CONDITIONS
It’s possible to grow your tiny veggies inside at any time of the year, but planting in winter, or in spaces with low light can be tough on your plant. When the days are shorter in the winter, your plant might not get enough sunlight. This can also be true if you do not have a lot of sunlight inside—even in summer. If it’s too dark, plants may become “leggy,” meaning that they extend and grow looonnnng and taaalllllll to try to reach for more sunlight. This can cause them to produce fewer leaves or fruit or even eventually flop over.
If you plan to plant your plants indoors during the winter, or it is particularly dark, you might need to purchase a grow light. A grow light can replace the sunlight that the veggie plant is lacking. Since grow lights are less intense than the actual sun, it is advised to use a grow light for 12-14 hours per day.
One additional way to help “leggy” plants is to use a small oscillating fan. Run it very (very) low, facing the plant, for a few hours a day. This will simulate the natural wind when growing outside, and can help strengthen the plant so it doesn’t flop over.
GROWING IN LOW-HEAT CONDITIONS
If it is too cold, plant growth will slow, and this can affect the number of leaves or fruit your veggie plant will produce.
In the summer when the days are warmer, your plant should be fine if placed in a sunny windowsill. But sometimes the ideal indoor temperatures for humans are different than for a plant. If you are running the AC, a heat mat under the plant can help keep your plant at an ideal temperature. Heat mats made specifically for plants are available online or at most garden stores.
-
Whether planning to grow inside or out, it’s best to start your seeds inside either way, following the kit directions. If you would like to later move your veggie plants outside (either into a larger pot, or into the ground), there are a few things to consider.
WHERE?
Veggie plants prefer varying amounts of sunlight and heat. Refer to the Plant Instruction Guide that came with your seeds to learn about the conditions that are best for your plant. When considering where to place your plants, observe the areas of your space that get the most direct sunlight throughout the day, or are shaded by trees, plants, or buildings. If you are planning to grow your plants outside on an enclosed porch or patio, you may still need to treat the tomato like an indoor plant, with additional heat and light.
WHEN?
The time of year is crucial for veggie plants to live happily outside. Since weather varies greatly by area, the easiest way to determine when you can move your plants outside is to use this handy resource from The Old Farmers Almanac. Simply enter your zip code, then scroll down to the type of plant that you are growing. There are charts listed for both spring and fall planting dates. In most parts of the country, veggies are only viable from spring to fall, so be sure to note which chart you are referring to.
FROST CAN KILL
It’s vital that your tiny veggie plant has enough time to complete a full growth cycle outside without a freeze. If your plant is outside in a pot, make sure to always bring it inside if there will be a chance of frost.
GROWING UP STRONG
When you move your young plants outside, they will need to go through a process called “hardening off.” Your plants have been isolated from the outdoor elements in your cozy home, so they need to adjust to the harsher outdoor conditions.
Once it’s warm enough, take your plants on a field trip outside to a sunny spot, increasing the amount of time it spends outside each day. For instance: 1 hour the first day, 2 hours the next, then 3, and so on. After about a week your plants will be ready to live full time outside in their new home!
If your plants are not “hardened off,” they can become stressed, get sunburned, or shocked from cold and wind. Since they’ve never experienced that before, it’s best to ease them into it.
Veggie plants growing outside may have different water needs than those growing inside. Be sure to check your plants often using the methods listed above.

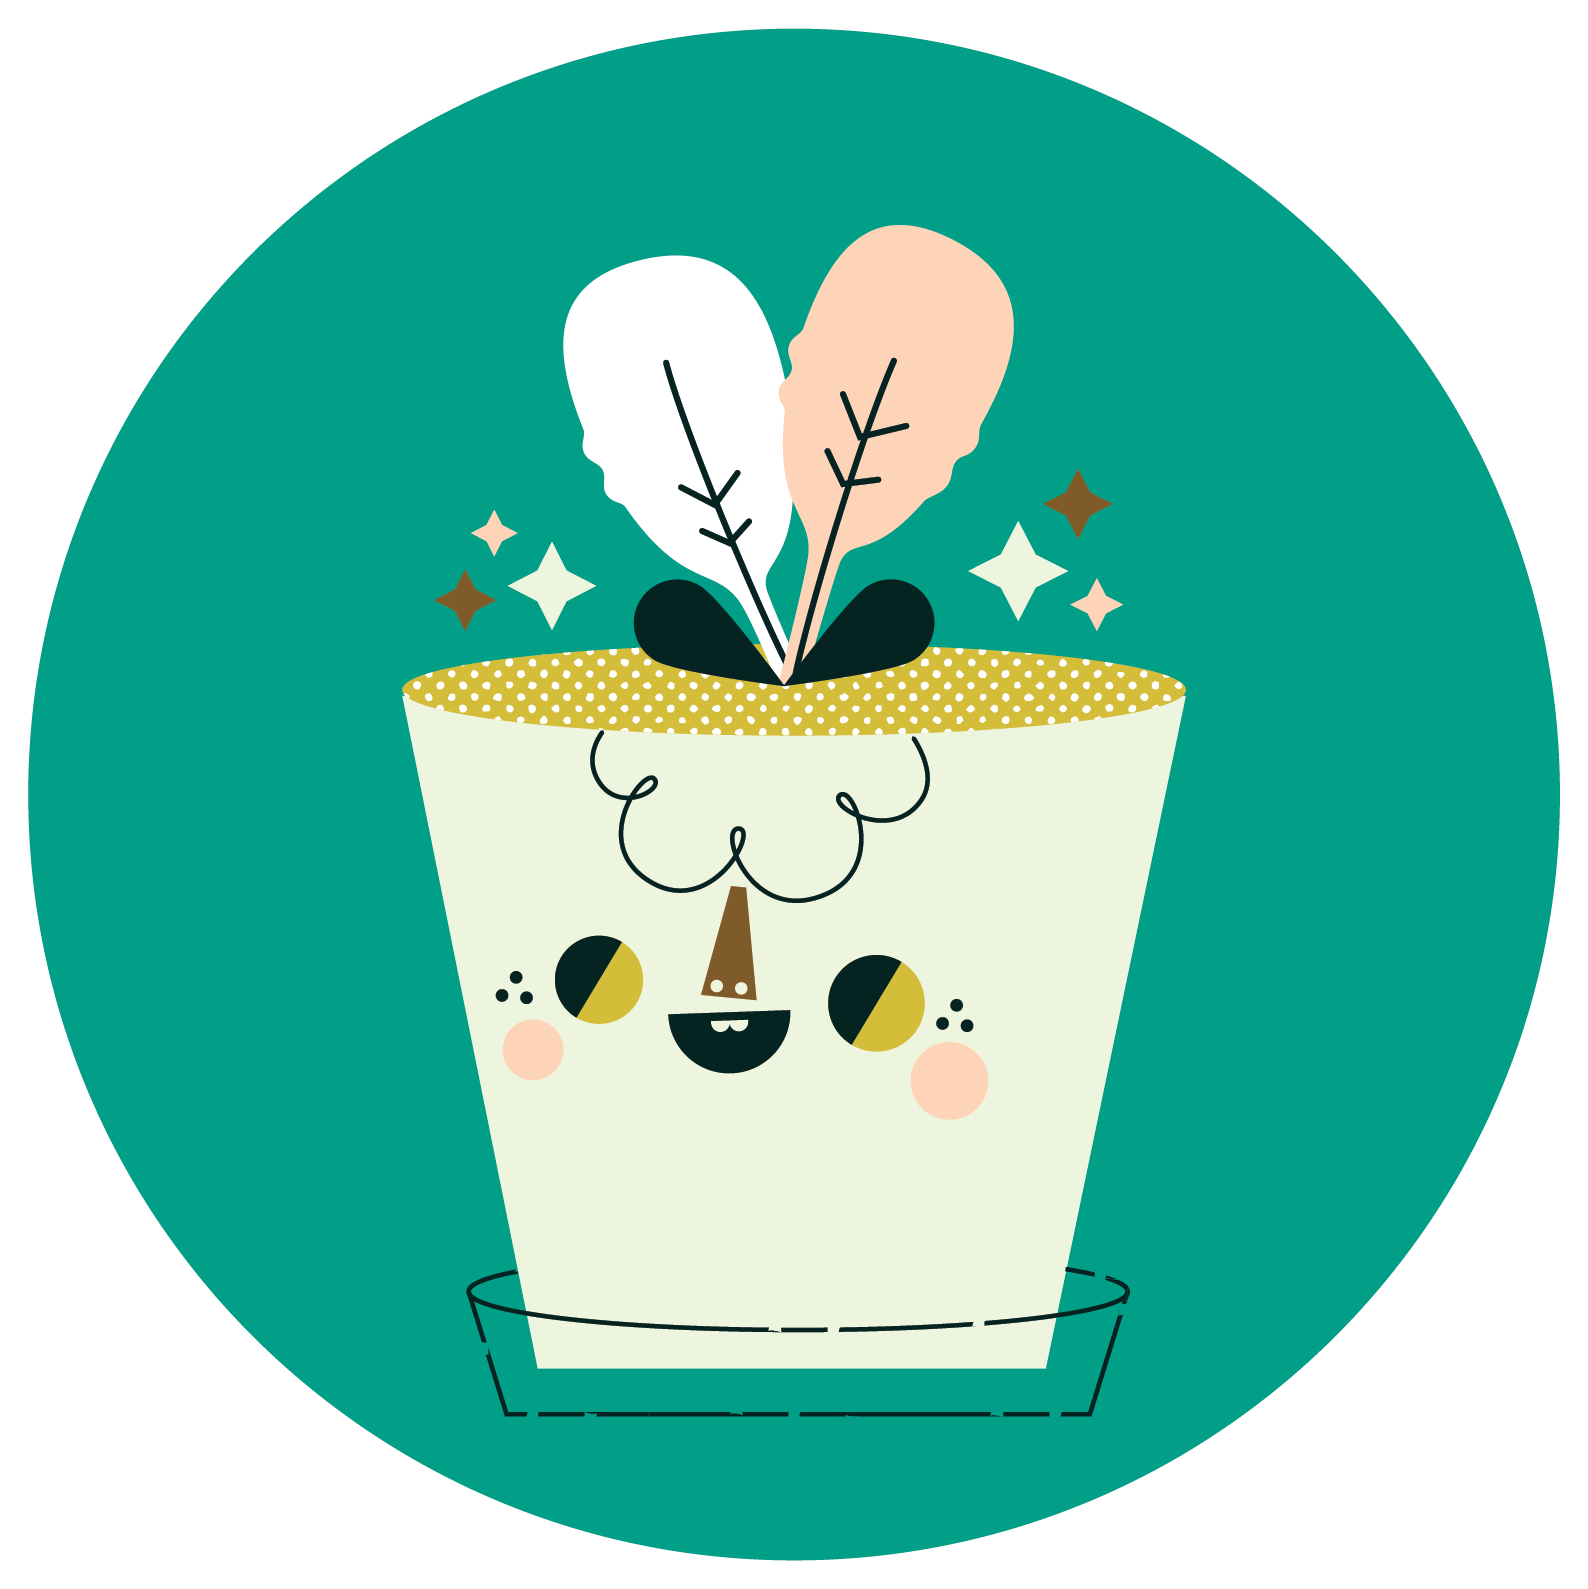
When does my PLANT need more room to grow?
When your seeds have sprouted their happy little heads above the surface, what you’re seeing are its first leaves. The first leaves of the plant are called the cotyledon. These leaves were present inside the seed even before germination, and they have access to stored food reserves for the plant’s early life. They keep the young plant happy and healthy for the first part of its life.
After a little while, the second set of leaves (called the true leaves) begin to form. These leaves will look very different than the first leaves.
Once the plant has reached about 2” tall and has its true leaves, it’s time to “pot up”—meaning the plant needs more space to continue growing. It needs access to more nutrients in the soil, and will need room for more roots to spread and grow as the plant gets larger.
-
If all the seeds you planted have germinated, you’ll need to decide if you want to keep all of them. Each one you keep will need its own pot. For instance, if you planted 3 seeds in one pot, you will need a total of 3 larger pots to successfully transplant all of them. If you would like to keep only a few, or don’t have room, choose the largest and healthiest looking seedlings. They should be robust, upright, and have a happy green color.
Refer to the Plant Information Guide that came with your seeds to determine the size of the pot you’ll need for each variety you are growing. If you want to plant them outside directly into the ground please refer to “What Conditions are Best for my Tomato” above to learn about hardening off your seedlings first, and when it’s the right time of year to do so.
Feel free to get creative with reusing materials around your home to create pots for your plants! A few ideas are large milk or soda containers cut in half, food storage containers, or take out food containers.
Very important note: Any pots (or anything you choose to use as a pot) needs to have drainage holes at the bottom to allow excess water to pass through. Standing water can kill the plant’s roots. If you are using something fun that you found, be sure to poke plenty of holes in the bottom for the water to drain through! Be sure that anything that you use for a planter cannot release toxins into the soil.
-
In addition to the pots, you will also need some suitable soil (enough to fill your new pots). Be sure to use soil that contains a lot of yummy nutrients for your plants. Try to find varieties labeled as “organic raised bed soil,” or an “organic garden soil” that is listed specifically for vegetables. Soil and pots are available from most home improvement stores, plant nurseries, and even online if you would prefer to have it delivered.
When it’s time to pot up, be sure you have all your materials at hand, and are working in a place that can get messy!
-
Step 1: Fill your new pots about 2/3 of the way full with new soil.
Step 2: Water the soil around your seedlings in their current pot relatively heavily. If the soil is wet, it’s easier to remove the plant from the pot.
Step 3: Take the pot and lightly SQUISH/SQUEEZE it in your hand—but not too hard! It can be easy to crush your pots and damage your plants and their roots. Squish/squeeze just enough to loosen the soil in the pot.
Step 4: Use your fingers to VERY delicately tug on the leaves (not the stem) of one of the small plants, and start to pull it upwards out of the pot. If the plant feels like it does not want to come out easily, DO NOT FORCE IT, as it can rip the leaves off of the plant. If necessary, squeeze the pot again to further loosen the soil.
If it helps, you can use your wooden scoop or a spoon to remove the plant. If you use a spoon, dig down around the plant to gather at least an inch of soil on all sides, and at least an inch and a half to two inches underneath (you want to be sure you are getting as many of the roots that the plant has grown as possible).
Step 5: Once you have your teeny-tiny plant removed from its pot, very gently move it to its new pot, holding it in an upright position by the leaves. Hold the plant towards the center of the pot with one hand as you fill around it with soil. The roots of the plant should be down inside the pot, and the stem and leaves above the surface. Cover the plant with soil all the way up to the first set of leaves.
Step 6: Don’t forget to move your plant labels to their new home so you can remember the varieties you have in each pot (you may need to make a few new ones if you have more pots).
Step 7: Water the soil around the transplanted plant to settle it and make sure the roots have contact with the new soil.
Note: Transplanted plants can look a little sad for a day or two after they have been moved to their new home. This is called “shock” and is normal. They can look a little droopy and wilted as they get adjusted to their new environment, but they’ll usually bounce back pretty quickly—within a few days or so. Plant growth might slow down a bit during this time, but once acclimated, they should continue as normal.
Finally: Don’t forget to monitor the conditions of your plant. Even in their new homes, they still need plenty of light, proper temperature, and the correct amounts of water.


TO FERTILIZE, OR NOT TO FERTILIZE, THAT IS THE QUESTION…
Once your seedlings have been potted up into their new and larger pots, they should have all the nutrients they need for quite some time (possibly for their whole life span), as long as you’ve selected a quality organic soil.
If necessary, fertilizer can help replace any nutrients that the plant has used up.
-
If your plant’s oldest leaves start to yellow, and the plant growth starts to slow down, it may need some fertilizer. Potted plants can deplete nutrients in the soil faster than those in the ground, as they’re limited to what is in the pot. Watering can also leach nutrients out of the soil.
If needed, it’s best to use a good organic all-purpose fertilizer specific to the variety of plant. Follow the package instructions as they vary greatly. Fertilizer can come in pelleted, powdered, or liquid form, and in some cases may need to be diluted with water. Synthetic fertilizers are not ideal, as they can build up in the soil and can actually make the plant sick by providing TOO MANY nutrients. Organic fertilizers usually contain a lower concentration of nutrients, generally last longer, and improve the soil in the process.
If your plant is living outside in the ground, there are a few organic fertilizers that you can use that would not be recommended for indoor use—mostly because they are very very stinky!

WHAT’S pollination… Pollination got to do with it?
Different veggie plants have different pollination needs depending on if they produce fruit from flowers.
Lettuce, greens, herbs, and root vegetables are eaten before the plant flowers, whereas, tomatoes, peppers, peans, cucumbers, squash, and beans, require pollinated flowers to produce the edible foods we know and love.
Learn more about the pollination needs of your plant below:
-
After being potted up, your tomato plant will keep growing, and after a while it will begin to produce flowers. This is an exciting time! Flowers mean that your tomato plant is getting ready to produce tomatoes for you to eat. Woo hoo!
Each flower should produce one tomato. This happens through a process called pollination. Tiny grains of pollen are transferred from the stamen to the pistol parts of a flower. In some plants, the stamen and the pistol are in different flowers, which rely on insects (like bees) and other means to carry the pollen from one flower to another. But with tomatoes, we are lucky—tomatoes are self-pollinating plants. This means that each flower has all the parts it needs to pollinate itself inside one flower on the same plant. When they live outside in the “wild” tomato plants can be pollinated just by being jostled in the wind, knocking the pollen from one part of the flower to another! Bees and insects also help. Easy peasy!
Pollination is the way that plants eventually create seeds, and make more plants. In the wild, tomato seeds spread by falling to the ground or by being eaten and spread by animals to create new tomato plants. Good pollination means more yummy tomatoes!
If you plan to plant your tomatoes outside, you probably won’t need to worry about pollinating your tomato flowers. The wind and bees should take care of it for you. But if your tomato plants will live inside, or if you see flowers falling off the plant and not growing into tomatoes (a sign of poor pollination), you might need to lend a hand. Quite simply, the flower needs to be nudged around a bit for the pollen to dislodge inside the flower and get where it needs to go.
HELP OUT THE POLLINATION:
Overall, pollinating tomato plants is easy, they just need a bit of help if they are not outside in their natural conditions.
Run an oscillating fan, set on low, facing the plants to simulate wind
Gently shake your plant.
Lightly rub a soft dry paintbrush or cotton bud inside of the flower to knock the pollen around
Use an electric toothbrush on the outside of the flower to vibrate it (don’t reuse the toothbrush yourself if you use this method! Get one specifically for this purpose)
-
You can let your lettuce, greens and herb plants grow happily without any additional help with pollination.
Towards the end of the plant’s life, it will start to grow very tall and begin to produce flowers. The plant is now putting its energy into producing flowers, and not the lovely leaves, so the leaves will begin to taste very bitter.
If you would like, you can save the seeds to plant later! To do so, simply let the flowers completely finish growing, reduce watering, and then let them dry out on the plant. Once the flowers are dry, cut them off of the plant and shake them over a paper bag to loosen the seeds.
You can also plant any seeds that you have left over your from your kit to start the whole cycle over again! Yum!

ARE WE THERE YET?!?
Some veggie plants can take a long time to grow. The Plant Information Guides that came with your kit can give you a sense of how long. Each variety can take different amounts of time, so it is normal for some plants to be faster than others.
Learn more about how to know when your veggies are ready to eat:
-
Once your plants flower and become pollinated, they will start to “set fruit.” Fun! The tomatoes will first appear as very small green tomatoes. Over time they will grow larger until they reach their full size. Then they’ll begin to ripen and turn from green to their final color (also listed in the Plant Information Guides in your kit). Tomatoes aren’t just red. They can be all sorts of colors—yellow, orange, brown, blue, black, or even multi-colored, depending on the variety!
If the tomato has fully turned to its final color, you can give it a small squeeze. If it feels a little “soft,” it is ripe and ready to eat! If you would like some ideas of various things you can do with your tomatoes, feel free to check out the recipes section!
Note: Tomato fruits are edible, but the leaves and other parts of the plant are NOT! Tomatoes are part of the nightshade family, and many parts of the plant produce toxins that can make you (and your pets) sick.
-
Lettuce, greens, & herbs grow relatively quickly.
There are two ways that you can eat them:
You can eat it as it grows, by cutting off a few leaves at a time as you need them (known as “cut and come again”). By only removing leaves as you need them, the plant will continue to grow new leaves and provide you with yumminess for quite some time!
Start by cutting off the bottom leaves first, leaving some at the top to continue to grow.
Alternatively, you can let your plant grow to its full size, cut it off at the base and eat the entire thing. Know that if you do this—some will regrow, and some will not.